


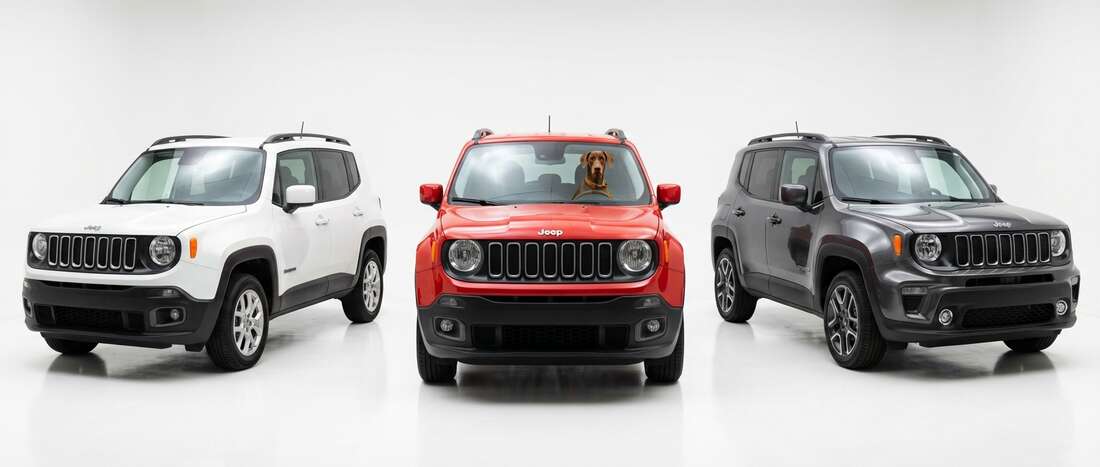
Jeep Renegade Touch Up Paint (82 OEM Colors)
Search for your Renegade's color
-
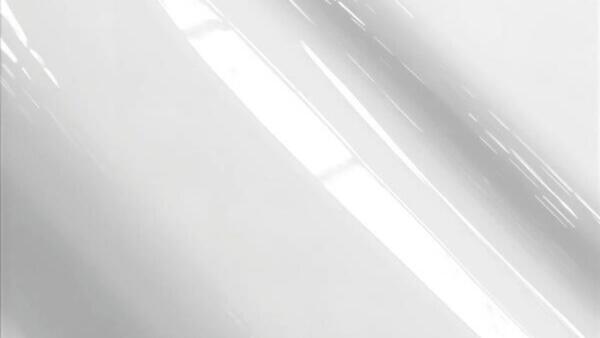
Bright White
JeepCOLOR CODEW7/
GW7 - Bright White 🔥 23 sold recently -

Diamond Black Crystal Pearl
JeepCOLOR CODEXJ/
PXJ - Diamond Black Crystal Pearl 🔥 11 sold recently -

Jet Black (Hard top color)
JeepCOLOR CODERXF -
Jet Black (Hard top color) 🔥 7 sold recently -

Tank
JeepCOLOR CODEGK/
NGK - Tank 🔥 5 sold recently -
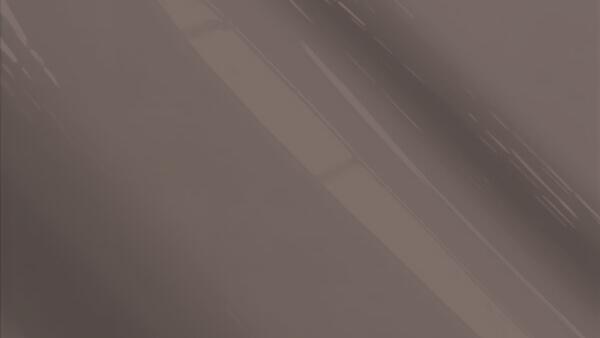
Baltic Grey Metallic
JeepCOLOR CODEPAS -
Baltic Grey Metallic 🔥 5 sold recently -

Velvet Red Pearl
JeepCOLOR CODEPRV -
Velvet Red Pearl 🔥 5 sold recently -
Velvet Red Pearl
JeepCOLOR CODERV/
NRV - Velvet Red Pearl 🔥 5 sold recently -

Black Crystal
JeepCOLOR CODEX8/
DX8 - Black Crystal 🔥 5 sold recently -
Black
JeepCOLOR CODEX8/
DX8/ RXN/ 601 - Black 🔥 5 sold recently -

Bikini Pearl Metallic
JeepCOLOR CODEPPT -
Bikini Pearl Metallic 🔥 4 sold recently -

Billet Silver Metallic
JeepCOLOR CODESC/
JSC - Billet Silver Metallic 🔥 4 sold recently -

Avatar Blue Pearl
JeepCOLOR CODEB1/
NB1/ 888 - Avatar Blue Pearl 🔥 3 sold recently -

Destroyer Gray
JeepCOLOR CODEDN/
PDN/ 503B - Destroyer Gray 🔥 3 sold recently -
Atomic Silver Metallic
JeepCOLOR CODEPSE -
Atomic Silver Metallic 🔥 3 sold recently -
Bikini Pearl Metallic
JeepCOLOR CODEPT/
SPT - Bikini Pearl Metallic 🔥 3 sold recently -

Mojave Sand
JeepCOLOR CODETA/
KTA - Mojave Sand 🔥 3 sold recently
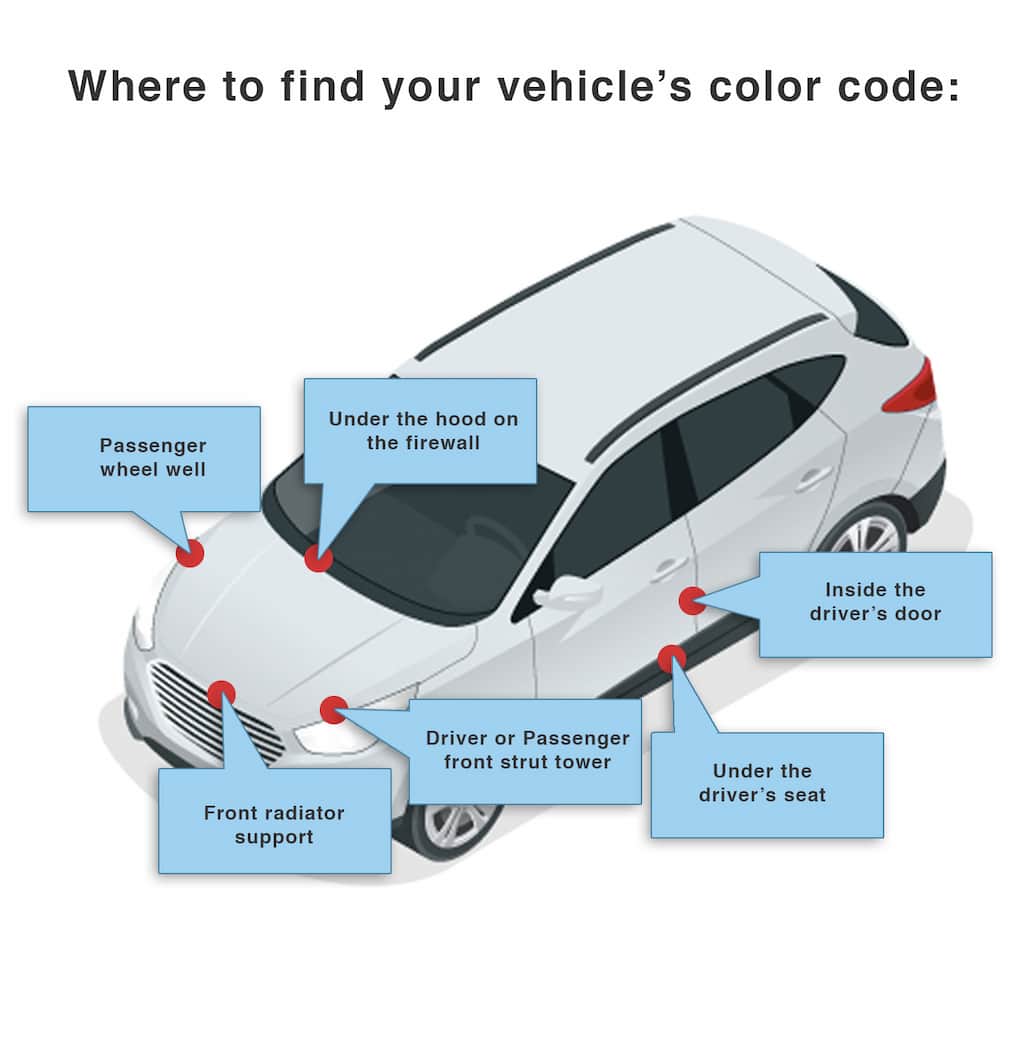
Find Your Jeep Renegade Paint Code
Jeep codes are difficult to find. In the good old days, they hid them on top of the radiator support, under engine grease and oil. Later models put them on the drivers door jamb. Typical format: BS/GBS; only BS is the color code (also QBS, PBS, TBS, etc.). The first letter is a "Year Code". BS corresponds to Deep Water Blue Pearl Clearcoat; the G in GBS is not part of the color code. Lately, Jeep lists just BS.
Jeep Renegade Paint Info
Jeep Renegade Colors by Year
Let us know the year your Renegade was manufactured. We'll eliminate colors that won't match your vehicle.