


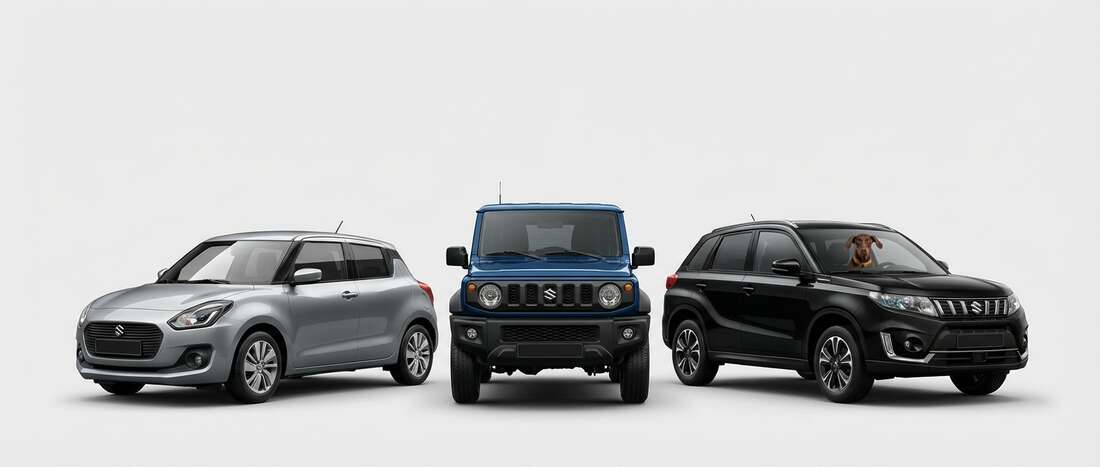
2012 Suzuki Touch Up Paint (25 OEM Colors)
Search for your color
-
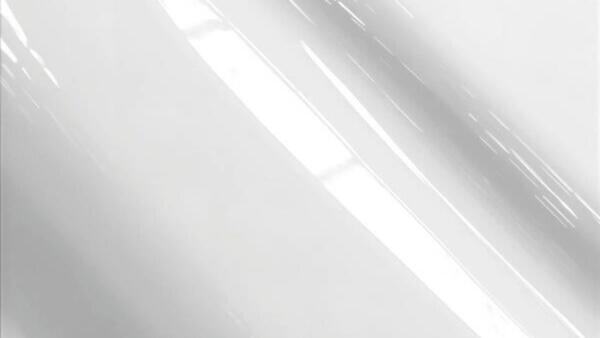
Superior White
SuzukiCOLOR CODE26U -
Superior White 🔥 2 sold recently -

Majestic Blue Metallic
SuzukiCOLOR CODERAB -
Majestic Blue Metallic 🔥 1 sold recently -
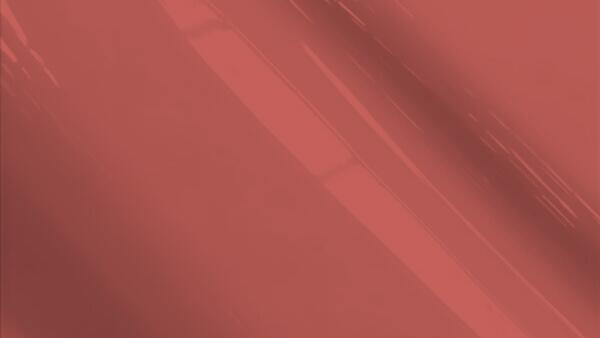
Sunlight Copper Pearl Metallic
SuzukiCOLOR CODEZFM -
Sunlight Copper Pearl Metallic 🔥 1 sold recently -
White Pearl Tricoat
SuzukiCOLOR CODEZMT -
White Pearl Tricoat 🔥 1 sold recently -

Mineral Gray Metallic
SuzukiCOLOR CODEZMW -
Mineral Gray Metallic 🔥 1 sold recently -

Prussian Blue Metallic
SuzukiCOLOR CODEZMZ -
Prussian Blue Metallic 🔥 1 sold recently -

Boost Blue Pearl
SuzukiCOLOR CODEZRZ -
Boost Blue Pearl 🔥 1 sold recently -

Red
SuzukiCOLOR CODEA20 -
Red -
Radiant Silver Metallic
SuzukiCOLOR CODEK12 -
Radiant Silver Metallic -

Super Black
SuzukiCOLOR CODEKH3 -
Super Black -
Avalanche White
SuzukiCOLOR CODEQM1 -
Avalanche White -
Silky Silver Metallic
SuzukiCOLOR CODEZ2S -
Silky Silver Metallic -

White Pearl Tricoat
SuzukiCOLOR CODEZ7T -
White Pearl Tricoat -

Clear Beige Metallic
SuzukiCOLOR CODEZDK -
Clear Beige Metallic -

Bluish Black Pearl Metallic
SuzukiCOLOR CODEZJ3 -
Bluish Black Pearl Metallic -

Nocturne Blue Pearl
SuzukiCOLOR CODEZJP -
Nocturne Blue Pearl

For small chips & scratches
Customized Color Paint Pen
Repair tiny chips and scratches with precision. Perfect for small nicks from rocks or door dings, the fine tip applicator makes it easy for beginners to achieve a clean, factory-quality finish.

For Medium-sized Chips & Scratches
Customized Color Paint Bottle
Tackle medium-sized scratches and chips with our Customized Color Paint Bottle. The built-in applicator brush provides smooth, controlled coverage, while the included basecoat delivers a perfect factory match in your custom paint color.

For larger areas & panel resprays
Customized Color Spray Can
Cover larger areas with a smooth, professional finish using ourcustomized color Spray Can. Designed for hoods, fenders, and larger scratches, this product provides consistent spray coverage and factory-matched color accuracy.

For large repairs & total resprays
Customized Color Professional Size Paint
When your repair job calls for more than a touch-up, step up to our professional-size automotive paints. Available in Pint, Quart, or Gallon sizes, these paints are ready-to-spray using an airless spray gun.

For small chips & scratches
Customized Color Tricoat Paint Pens
Repair tiny chips and scratches with precision. Perfect for small nicks from rocks or door dings, the fine tip applicator makes it easy for beginners to achieve a clean, factory-quality finish. Each order includes a basecoat and a midcoat pen.

For Medium-sized Chips & Scratches
Customized Color Tricoat Paint Bottles
Tackle medium-sized scratches and chips with our Customized Color Paint Bottles. The built-in applicator brush provides smooth, controlled coverage, while the basecoat & midcoat deliver a perfect factory match in your custom paint color.

For larger areas & panel resprays
Customized Color Tricoat Spray Cans
Cover larger areas with a smooth, professional finish using our customized color basecoat & midcoat Spray Cans. Designed for hoods, fenders, and larger scratches, this product provides consistent spray coverage and factory-matched color accuracy.
For large repairs & total resprays
Customized Color Tricoat Professional Size Paint
When your repair job calls for more than a touch-up, step up to our professional-size automotive paints. Available in Pint, Quart, or Gallon sizes, these paints are ready-to-spray using an airless spray gun. Each order includes a basecoat & a midcoat paint.
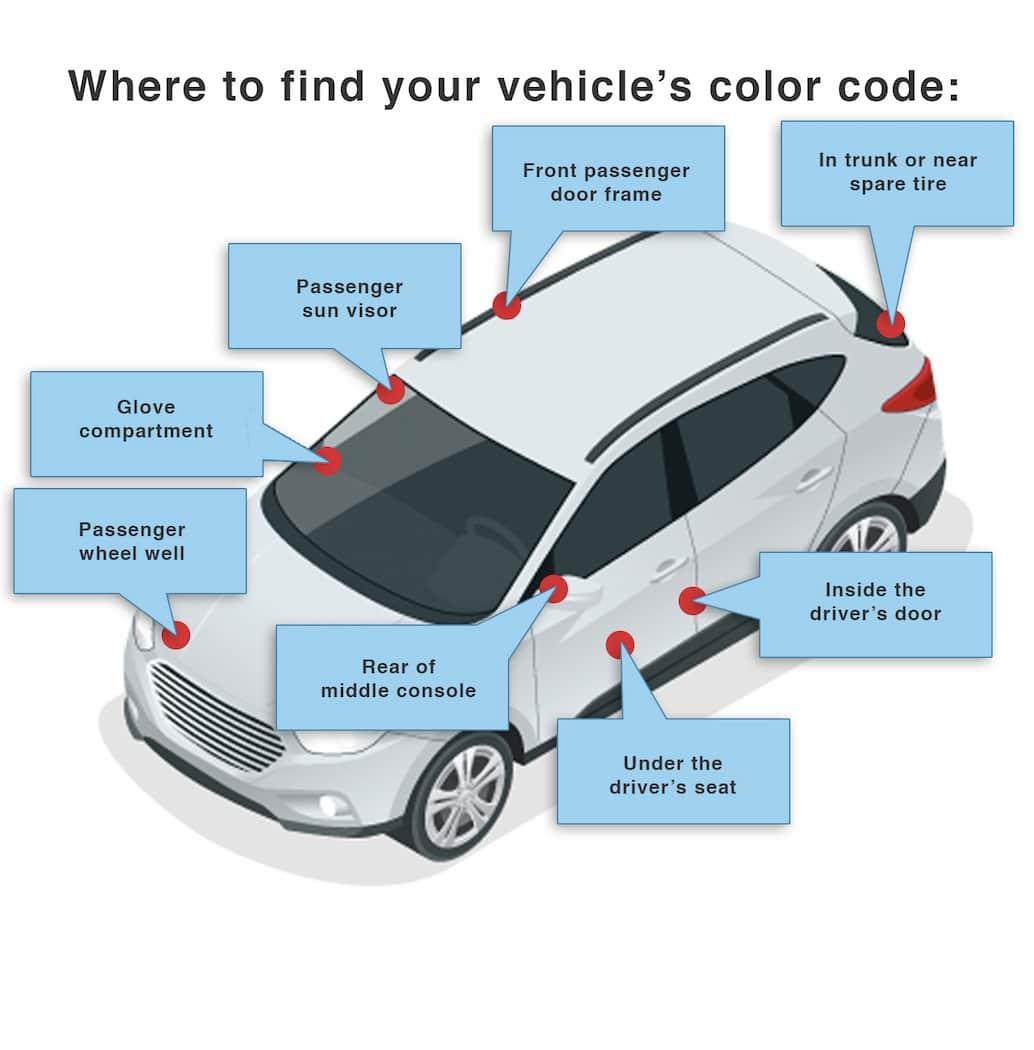
Find Your 2012 Suzuki Paint Code
On Suzuki vehicles, paint color codes may be well hidden, and some vehicles have no code at all. Suzuki can be contacted to determine where the code is, locate hidden codes, or verify paint formulas. When a code is missing, the PPG paint formula number or the Dupont paint formula number can replace the color code.
2012 Suzuki Background Info
Suzuki Models Released in 2012
- Equator (5 colors)
- Grand Vitara (8 colors)
- Kizashi (10 colors)
- SX-4 (10 colors)