


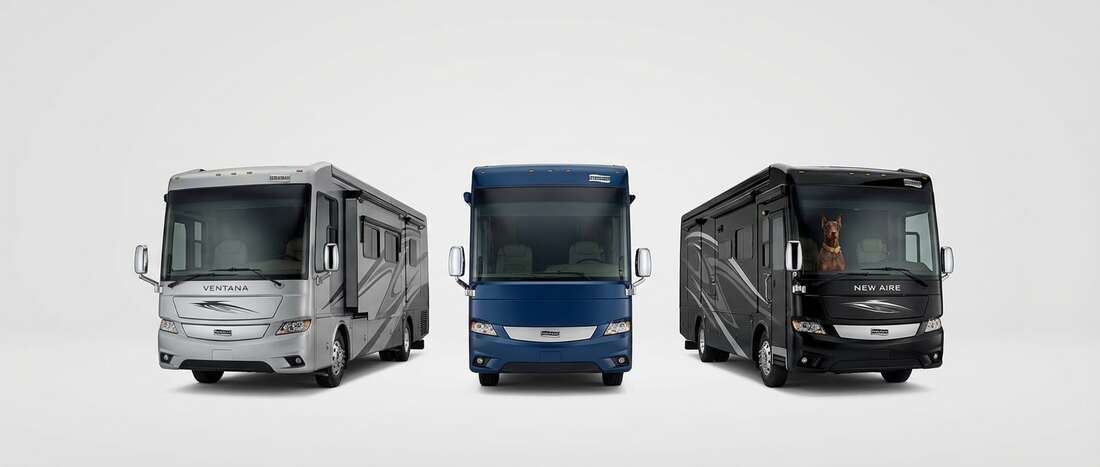
2008 Newmar Touch Up Paint (33 OEM Colors)
Search for your color
-
Anthracite (PPG 4897)
NewmarCOLOR CODE48977 -
Anthracite (PPG 4897) 🔥 7 sold recently -

Pearl Black
NewmarCOLOR CODE64443 -
Pearl Black 🔥 6 sold recently -

Glory Gold (863600K)
NewmarCOLOR CODE703 -
Glory Gold (863600K) 🔥 5 sold recently -
Merlot Red (M8757K)
NewmarCOLOR CODE61881 -
Merlot Red (M8757K) 🔥 4 sold recently -

Mojave Beige (PPG 5256)
NewmarCOLOR CODE54190 -
Mojave Beige (PPG 5256) 🔥 3 sold recently -

Cajun Spice Obsidian
NewmarCOLOR CODE56680 -
Cajun Spice Obsidian 🔥 3 sold recently -
Antelope Metallic (B9148K)
NewmarCOLOR CODE44429 -
Antelope Metallic (B9148K) 🔥 2 sold recently -

Gold
NewmarCOLOR CODE54697 -
Gold 🔥 2 sold recently -

Chestnut
NewmarCOLOR CODE62447 -
Chestnut 🔥 2 sold recently -
Galaxy Gold Metallic
NewmarCOLOR CODE62922 -
Galaxy Gold Metallic 🔥 2 sold recently -
Espresso (M9308K)
NewmarCOLOR CODE62930 -
Espresso (M9308K) 🔥 2 sold recently -
Kalahari Beige Metallic
NewmarCOLOR CODE64503 -
Kalahari Beige Metallic 🔥 2 sold recently -
Pepper White
NewmarCOLOR CODE64546 -
Pepper White 🔥 2 sold recently -

Dark Grey Metallic
NewmarCOLOR CODE20562A -
Dark Grey Metallic 🔥 1 sold recently -
Thunder Gray
NewmarCOLOR CODE49557 -
Thunder Gray 🔥 1 sold recently -

Black Gold Metallic (PPG 4967)
NewmarCOLOR CODE50288 -
Black Gold Metallic (PPG 4967) 🔥 1 sold recently

For small chips & scratches
Customized Color Paint Pen
Repair tiny chips and scratches with precision. Perfect for small nicks from rocks or door dings, the fine tip applicator makes it easy for beginners to achieve a clean, factory-quality finish.

For Medium-sized Chips & Scratches
Customized Color Paint Bottle
Tackle medium-sized scratches and chips with our Customized Color Paint Bottle. The built-in applicator brush provides smooth, controlled coverage, while the included basecoat delivers a perfect factory match in your custom paint color.

For larger areas & panel resprays
Customized Color Spray Can
Cover larger areas with a smooth, professional finish using ourcustomized color Spray Can. Designed for hoods, fenders, and larger scratches, this product provides consistent spray coverage and factory-matched color accuracy.

For large repairs & total resprays
Customized Color Professional Size Paint
When your repair job calls for more than a touch-up, step up to our professional-size automotive paints. Available in Pint, Quart, or Gallon sizes, these paints are ready-to-spray using an airless spray gun.

For small chips & scratches
Customized Color Tricoat Paint Pens
Repair tiny chips and scratches with precision. Perfect for small nicks from rocks or door dings, the fine tip applicator makes it easy for beginners to achieve a clean, factory-quality finish. Each order includes a basecoat and a midcoat pen.

For Medium-sized Chips & Scratches
Customized Color Tricoat Paint Bottles
Tackle medium-sized scratches and chips with our Customized Color Paint Bottles. The built-in applicator brush provides smooth, controlled coverage, while the basecoat & midcoat deliver a perfect factory match in your custom paint color.

For larger areas & panel resprays
Customized Color Tricoat Spray Cans
Cover larger areas with a smooth, professional finish using our customized color basecoat & midcoat Spray Cans. Designed for hoods, fenders, and larger scratches, this product provides consistent spray coverage and factory-matched color accuracy.
For large repairs & total resprays
Customized Color Tricoat Professional Size Paint
When your repair job calls for more than a touch-up, step up to our professional-size automotive paints. Available in Pint, Quart, or Gallon sizes, these paints are ready-to-spray using an airless spray gun. Each order includes a basecoat & a midcoat paint.
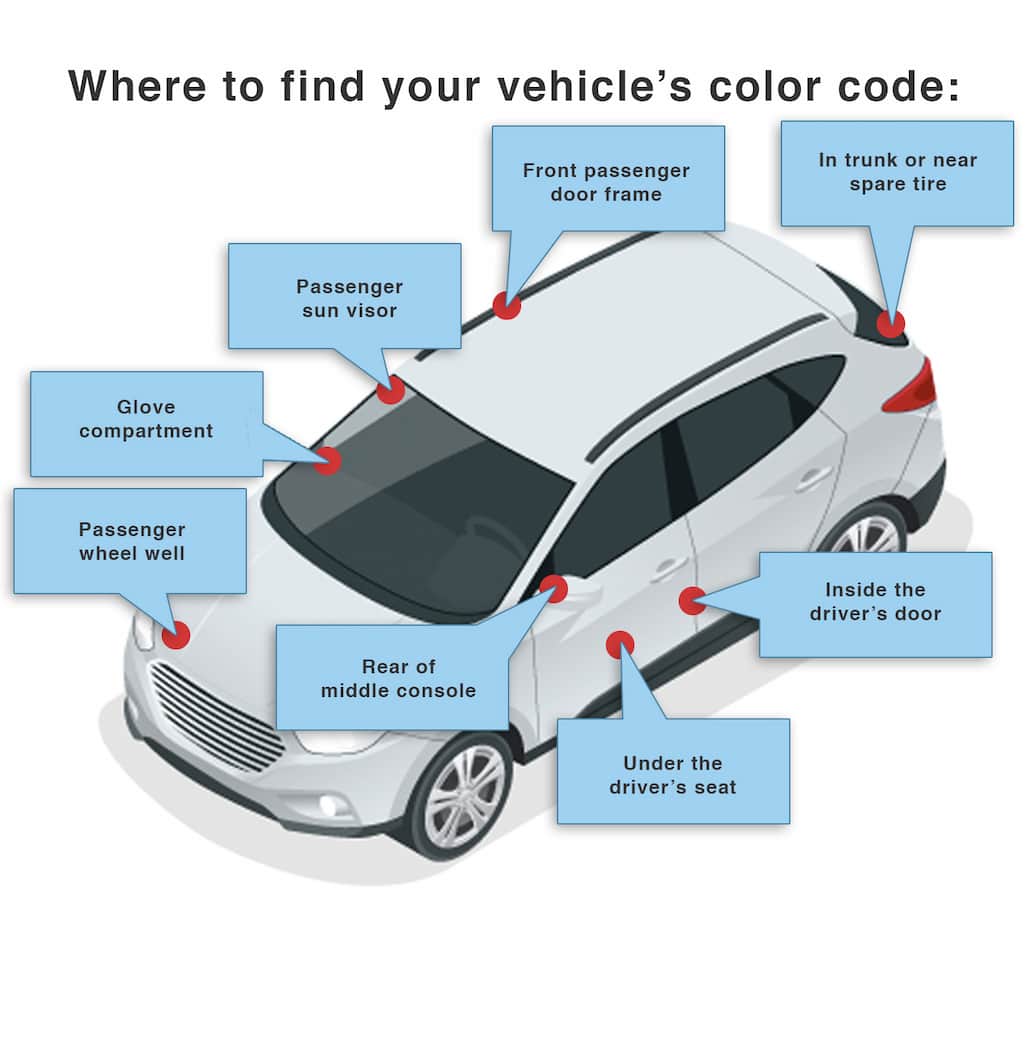
Find Your 2008 Newmar Paint Code
The Newmar color code may be on the vehicle but is sometimes well hidden, and some vehicles have no color codes at all. Locating it often requires direct contact with Newmar. Newmar may advise on the code location and can provide PPG or Dupont paint formula numbers or alternate formulas when no code exists. Hidden or missing codes are resolved by contacting Newmar. Paint information and vehicle details submitted via the contact form help identify or make the color.
2008 Newmar Background Info
Newmar Models Released in 2008
- Motorhome (33 colors)