


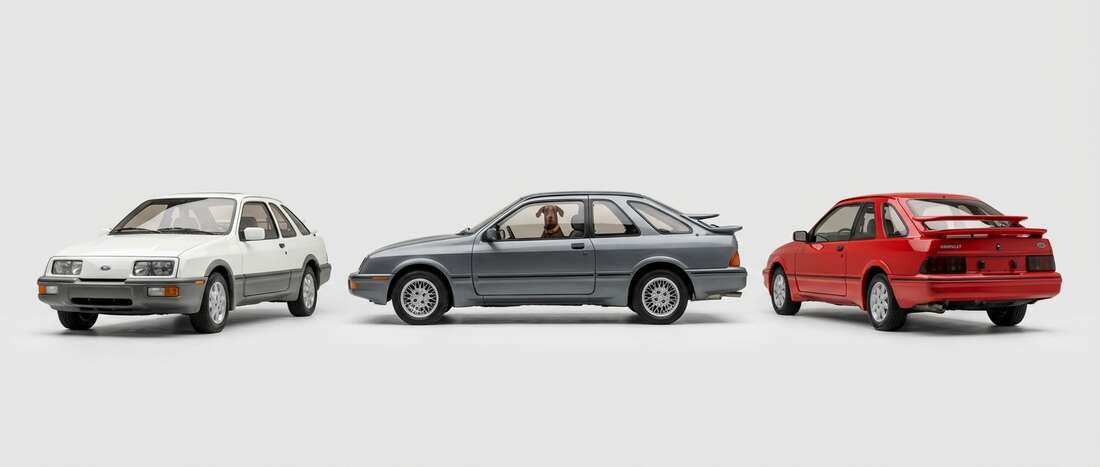
Merkur XR4Ti Touch Up Paint (12 OEM Colors)
Search for your XR4Ti's color
-

Paris Blue Metallic
MerkurCOLOR CODE03/
XSC1900 - Paris Blue Metallic -

Regency Red Metallic
MerkurCOLOR CODE04/
XSC1803 - Regency Red Metallic -

Mineral Blue Metallic
MerkurCOLOR CODE05/
XSC1091 - Mineral Blue Metallic -

Nimbus Gray Metallic
MerkurCOLOR CODE07/
XSC1801 - Nimbus Gray Metallic -

Black
MerkurCOLOR CODEOA/
XSC632 - Black -

Diamond White
MerkurCOLOR CODEOB/
XSC691 - Diamond White -

Regal Red Metallic
MerkurCOLOR CODEOO/
XSC2080 - Regal Red Metallic -

Mercury Gray Metallic
MerkurCOLOR CODEOQ/
XSC2076 - Mercury Gray Metallic -

Rosso Red
MerkurCOLOR CODEOR/
XSC1933 - Rosso Red -

Azure Blue Metallic
MerkurCOLOR CODEOT/
XSC1694 - Azure Blue Metallic -

Crystal Blue Metallic
MerkurCOLOR CODEOU/
XSC2078 - Crystal Blue Metallic -

Strato Silver Metallic
MerkurCOLOR CODEOV/
XSC1056 - Strato Silver Metallic
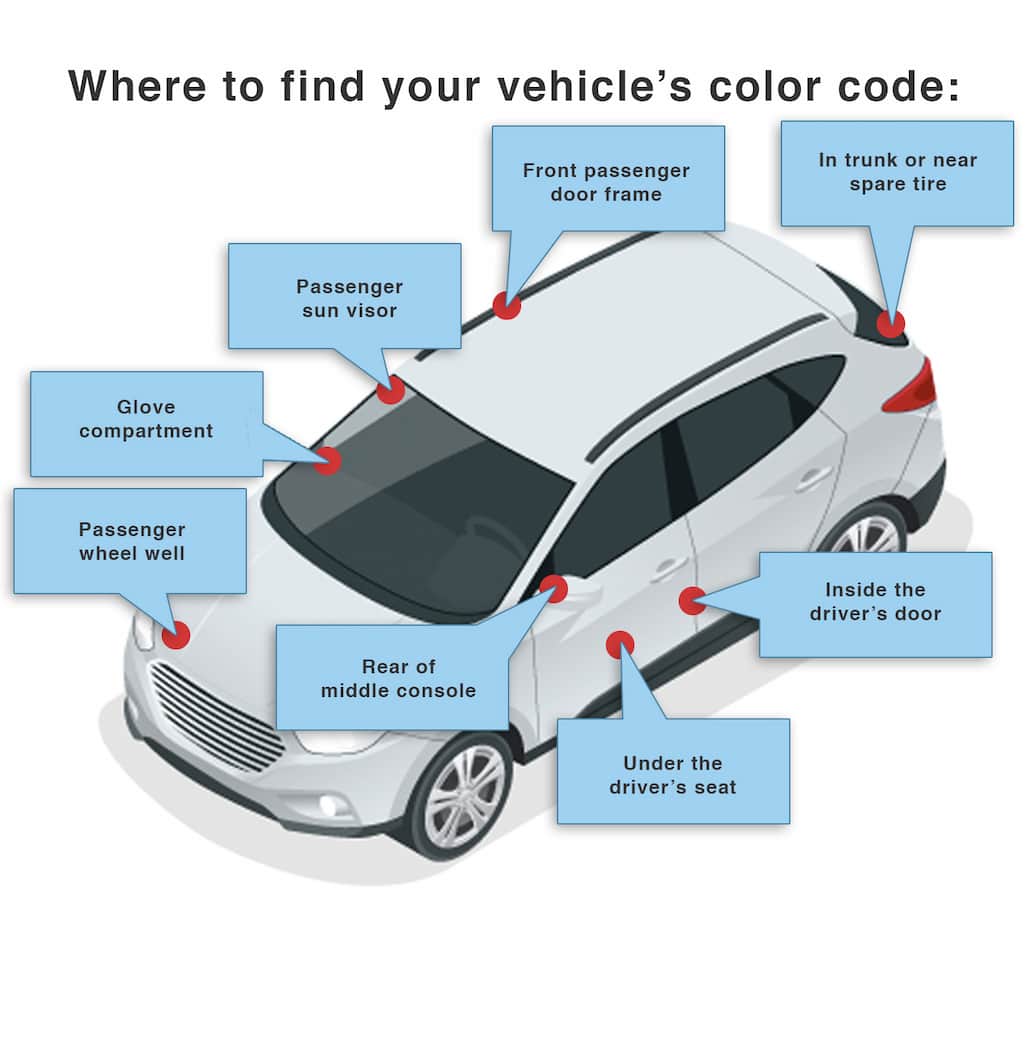
Find Your Merkur XR4Ti Paint Code
Merkur paint color code: color plate in the drivers door jamb. If a color plate is not visible, Merkur may determine the color code. If there is no color code, the PPG or Dupont (Axalta) paint formula number is the alternative.
Merkur XR4Ti Paint Info
Merkur XR4Ti Colors by Year
Let us know the year your XR4Ti was manufactured. We'll eliminate colors that won't match your vehicle.
- 1987 (12 colors)