


Mercury Milan Touch Up Paint (46 OEM Colors)
Search for your Milan's color
-
Smokestone Metallic
MercuryCOLOR CODEHG -
Smokestone Metallic 🔥 Ordered 4 times recently -
Silver Birch Effect
MercuryCOLOR CODEJP -
Silver Birch Effect 🔥 Ordered 3 times recently -
Silver Frost Metallic
MercuryCOLOR CODETS/
M6720 - Silver Frost Metallic 🔥 Ordered 3 times recently -
Black Ebony
MercuryCOLOR CODEUA/
M6373/ M6877 - Black Ebony 🔥 Ordered 2 times recently -
White Suede
MercuryCOLOR CODEWS -
White Suede 🔥 Ordered 2 times recently -
Alloy Effect
MercuryCOLOR CODEG5 -
Alloy Effect 🔥 Ordered 1 times recently -
Dune Pearl Beige Effect
MercuryCOLOR CODEND -
Dune Pearl Beige Effect 🔥 Ordered 1 times recently -
Brilliant Silver Metallic (Cladding)
MercuryCOLOR CODEUI -
Brilliant Silver Metallic (Cladding) 🔥 Ordered 1 times recently -
Oxford White
MercuryCOLOR CODEYZ/
M6466 - Oxford White 🔥 Ordered 1 times recently -
Sparkle Silver Effect (Wheel)
MercuryCOLOR CODE6389 -
Sparkle Silver Effect (Wheel) -

Moss Green
MercuryCOLOR CODED2 -
Moss Green -
Dark Ink Blue Pearl
MercuryCOLOR CODEDI -
Dark Ink Blue Pearl -
Light Tundra Metallic
MercuryCOLOR CODEDV/
M7081 - Light Tundra Metallic -
Dark Blue Effect
MercuryCOLOR CODEDX -
Dark Blue Effect -
Dark Blue Pearl
MercuryCOLOR CODEDX/
M7083 - Dark Blue Pearl -

Bordeaux Reserve Pearl
MercuryCOLOR CODEFQ -
Bordeaux Reserve Pearl
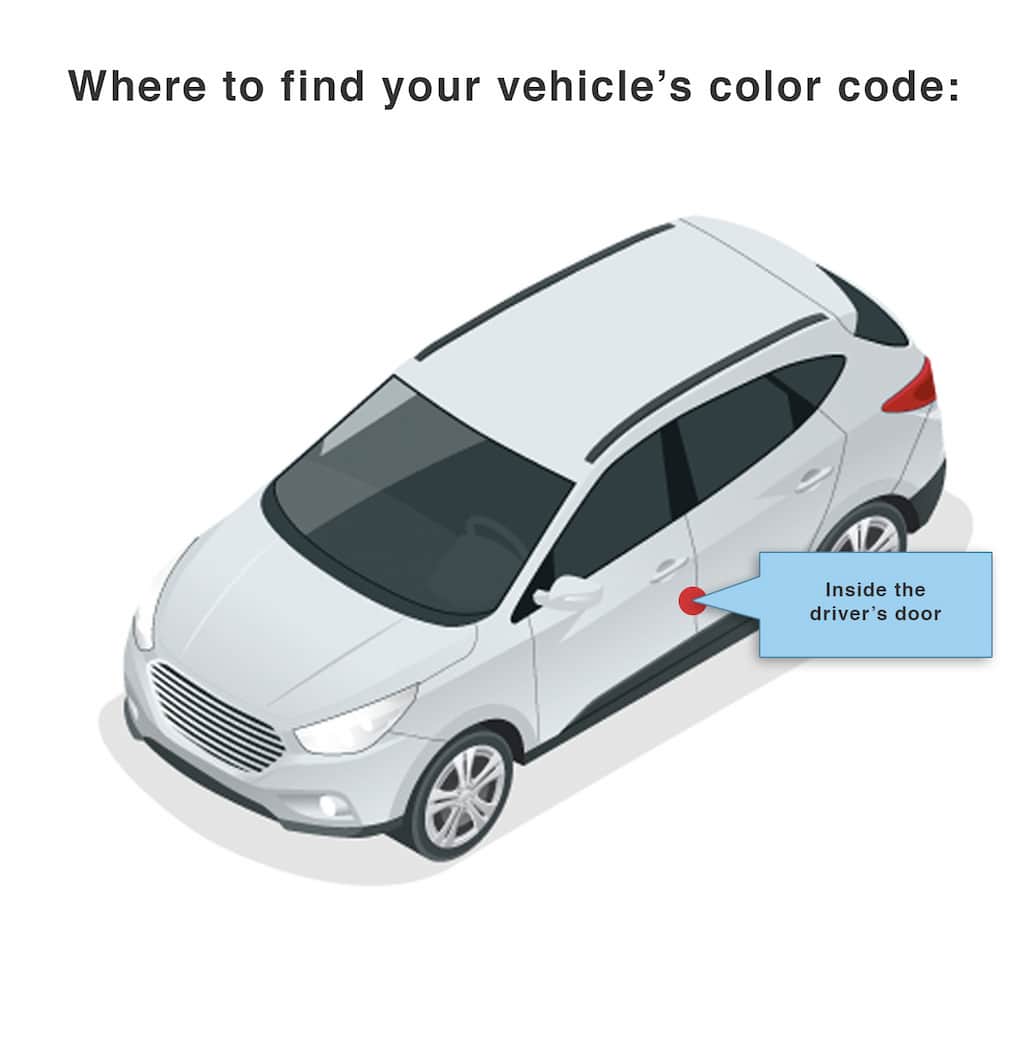
Find Your Mercury Milan Paint Code
Mercury places the paint color code on the drivers door jamb. On the color plate, the code appears near EX PT (Exterior Paint), typically above or below; sometimes the actual color is embossed on the plate and not where expected. The typical format is WT/M6640, but the M6640 part is rarely used and often only WT appears. WT corresponds to Performance White Clearcoat. Pre 1970 Mercurys can be problematic due to same-name, different-color issues and different codes.