


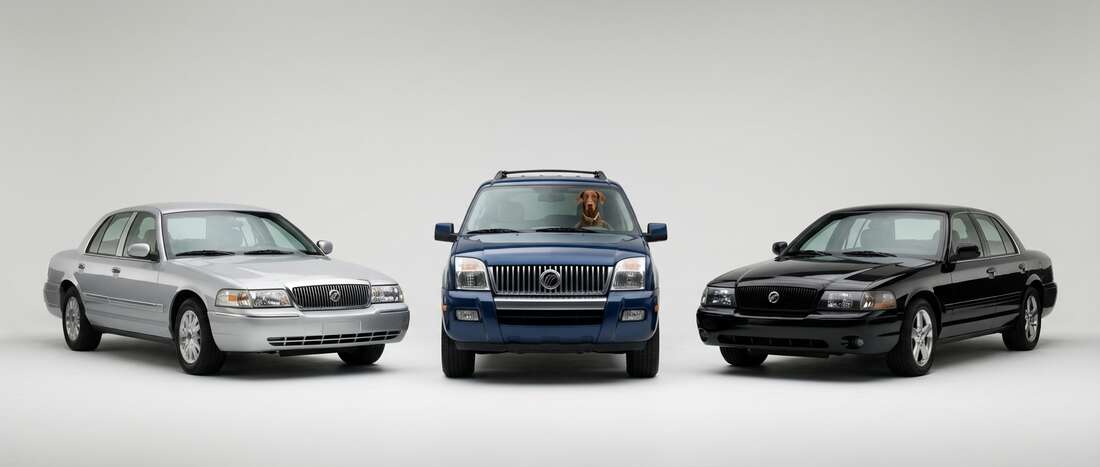
2011 Mercury Touch Up Paint (27 OEM Colors)
Search for your color
-

Green Orchid Pearl
MercuryCOLOR CODESQ -
Green Orchid Pearl -

Blue Flame Metallic
MercuryCOLOR CODESZ -
Blue Flame Metallic -

Red Candy Tricoat
MercuryCOLOR CODEU6 -
Red Candy Tricoat -

Black Ebony
MercuryCOLOR CODEUA -
Black Ebony -

White Platinum Tricoat
MercuryCOLOR CODEUG -
White Platinum Tricoat -

Tuxedo Black
MercuryCOLOR CODEUH -
Tuxedo Black -
Sterling Gray Metallic (Cladding)
MercuryCOLOR CODEUJ -
Sterling Gray Metallic (Cladding) -

Steel Blue Metallic
MercuryCOLOR CODEUN -
Steel Blue Metallic -

Gold Leaf Pearl Metallic
MercuryCOLOR CODEUP -
Gold Leaf Pearl Metallic -

Ingot Silver Metallic
MercuryCOLOR CODEUX -
Ingot Silver Metallic -

Performance White
MercuryCOLOR CODEWB/
M6547 - Performance White

For small chips & scratches
Customized Color Paint Pen
Repair tiny chips and scratches with precision. Perfect for small nicks from rocks or door dings, the fine tip applicator makes it easy for beginners to achieve a clean, factory-quality finish.

For Medium-sized Chips & Scratches
Customized Color Paint Bottle
Tackle medium-sized scratches and chips with our Customized Color Paint Bottle. The built-in applicator brush provides smooth, controlled coverage, while the included basecoat delivers a perfect factory match in your custom paint color.

For larger areas & panel resprays
Customized Color Spray Can
Cover larger areas with a smooth, professional finish using ourcustomized color Spray Can. Designed for hoods, fenders, and larger scratches, this product provides consistent spray coverage and factory-matched color accuracy.

For large repairs & total resprays
Customized Color Professional Size Paint
When your repair job calls for more than a touch-up, step up to our professional-size automotive paints. Available in Pint, Quart, or Gallon sizes, these paints are ready-to-spray using an airless spray gun.

For small chips & scratches
Customized Color Tricoat Paint Pens
Repair tiny chips and scratches with precision. Perfect for small nicks from rocks or door dings, the fine tip applicator makes it easy for beginners to achieve a clean, factory-quality finish. Each order includes a basecoat and a midcoat pen.

For Medium-sized Chips & Scratches
Customized Color Tricoat Paint Bottles
Tackle medium-sized scratches and chips with our Customized Color Paint Bottles. The built-in applicator brush provides smooth, controlled coverage, while the basecoat & midcoat deliver a perfect factory match in your custom paint color.

For larger areas & panel resprays
Customized Color Tricoat Spray Cans
Cover larger areas with a smooth, professional finish using our customized color basecoat & midcoat Spray Cans. Designed for hoods, fenders, and larger scratches, this product provides consistent spray coverage and factory-matched color accuracy.
For large repairs & total resprays
Customized Color Tricoat Professional Size Paint
When your repair job calls for more than a touch-up, step up to our professional-size automotive paints. Available in Pint, Quart, or Gallon sizes, these paints are ready-to-spray using an airless spray gun. Each order includes a basecoat & a midcoat paint.
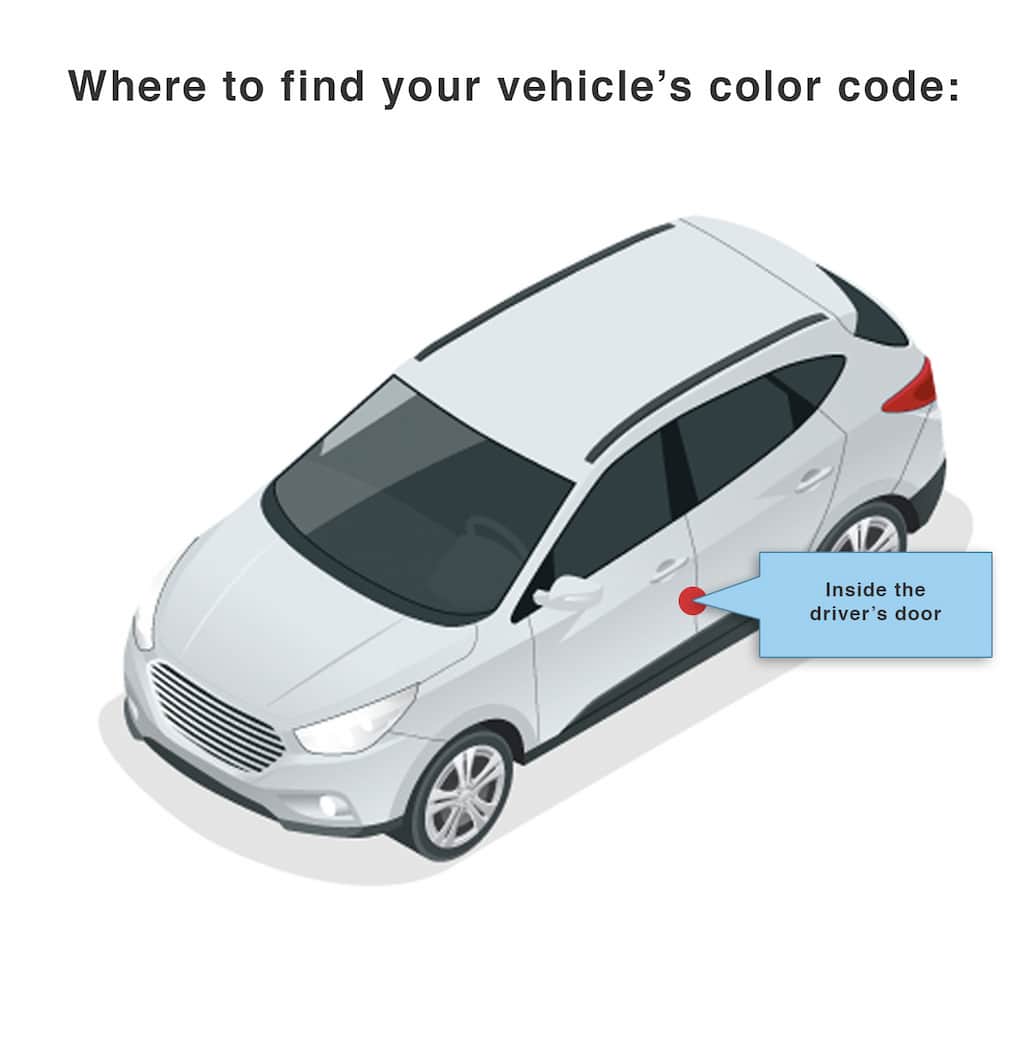
Find Your 2011 Mercury Paint Code
Mercury places the paint color code on the drivers door jamb. On the color plate, the code appears near EX PT (Exterior Paint), typically above or below; sometimes the actual color is embossed on the plate and not where expected. The typical format is WT/M6640, but the M6640 part is rarely used and often only WT appears. WT corresponds to Performance White Clearcoat. Pre 1970 Mercurys can be problematic due to same-name, different-color issues and different codes.
2011 Mercury Background Info
Mercury Models Released in 2011
- Grand Marquis (11 colors)
- Mariner (14 colors)
- Milan (14 colors)