


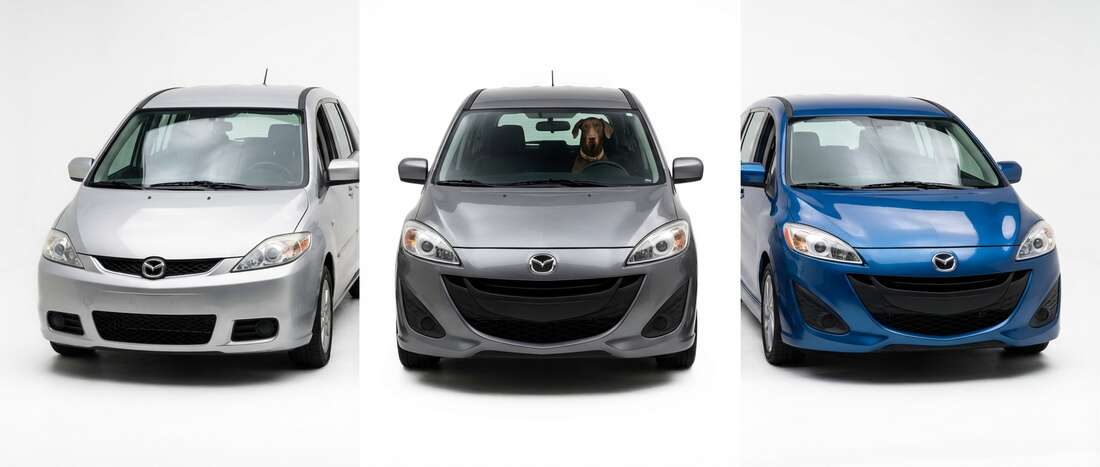
Mazda Mazda5 Touch Up Paint (27 OEM Colors)
Search for your Mazda5's color
-

Platinum Silver Metallic
MazdaCOLOR CODE22R -
Platinum Silver Metallic -

Carbon Grey Metallic
MazdaCOLOR CODE28B -
Carbon Grey Metallic -

Cardinal Red Metallic
MazdaCOLOR CODE30P -
Cardinal Red Metallic -

Stellar Silver Metallic
MazdaCOLOR CODE32B -
Stellar Silver Metallic -

Medium Gray
MazdaCOLOR CODE33B -
Medium Gray -

Metropolitan Grey Metallic
MazdaCOLOR CODE36C -
Metropolitan Grey Metallic -

Dark Plum Pearl
MazdaCOLOR CODE36F -
Dark Plum Pearl -

Zeal Red Pearl
MazdaCOLOR CODE41G -
Zeal Red Pearl -

Classic Red CLE
MazdaCOLOR CODEA3E -
Classic Red CLE -

Blackout (matt)
MazdaCOLOR CODEM6388G -
Blackout (matt) -

Storm Grey (matt)
MazdaCOLOR CODEM6827G -
Storm Grey (matt)
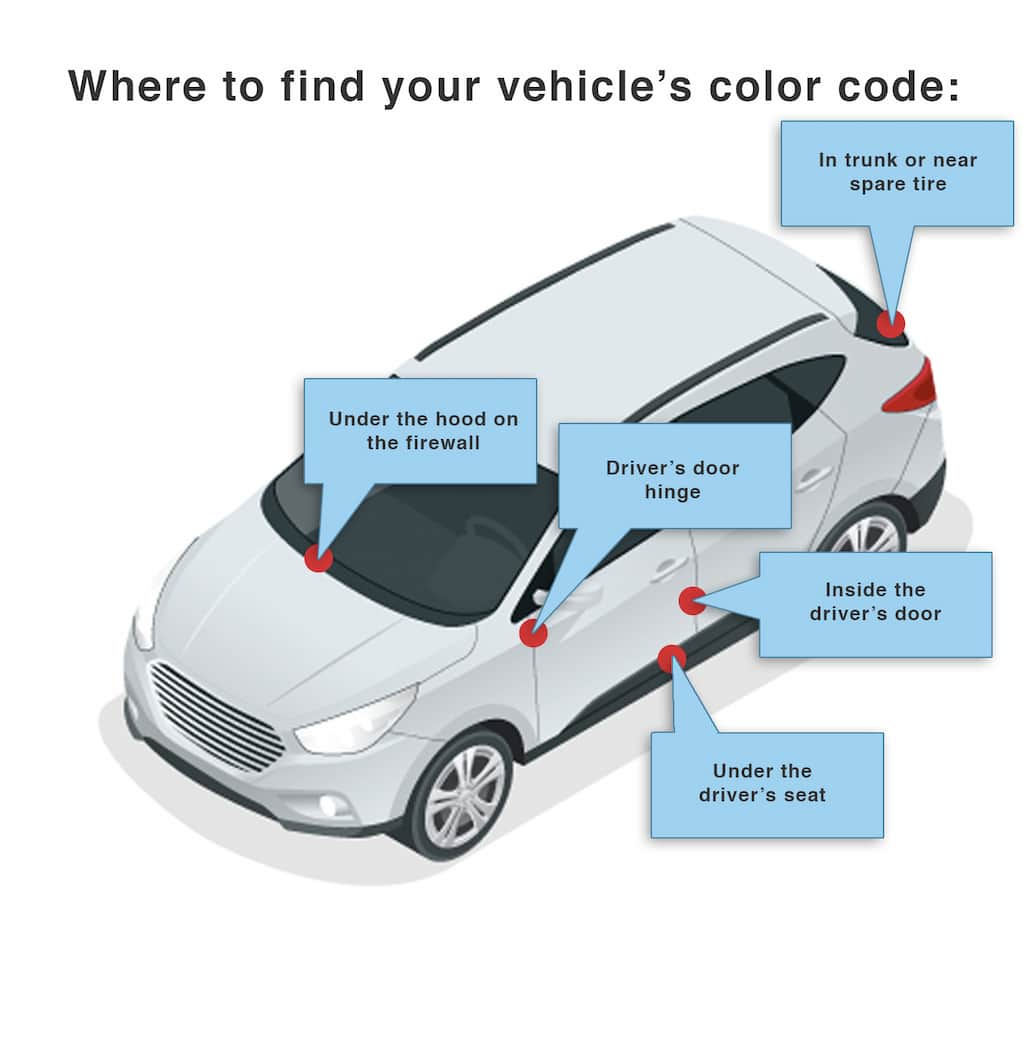
Find Your Mazda Mazda5 Paint Code
Mazda Color Codes are usually found on the Color ID Tag in the driver-side door jamb or door frame. The tag may label the Color Code as BODY Color Code or Color Code; on some models and years it is instead on an under-hood label on the firewall, at the back of the engine area near the windshield. Mazda Color Codes are usually 2 to 3 characters, such as 41V, 46G, 46V, or A4A.
Mazda Mazda5 Paint Info
Mazda Mazda5 Colors by Year
Let us know the year your Mazda5 was manufactured. We'll eliminate colors that won't match your vehicle.