


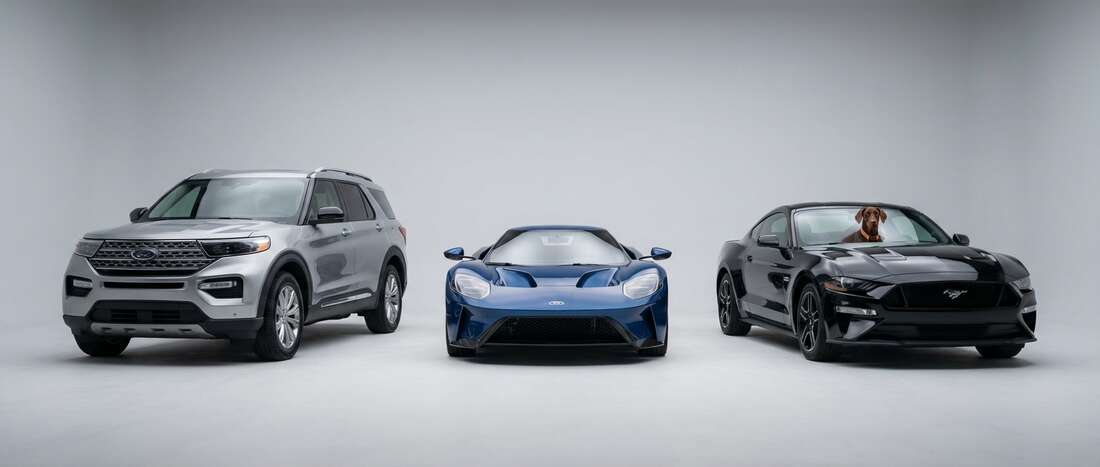
2009 Ford Touch Up Paint (70 OEM Colors)
Search for your color
-

Probe Ult. Blue Metallic
FordCOLOR CODEMM -
Probe Ult. Blue Metallic -
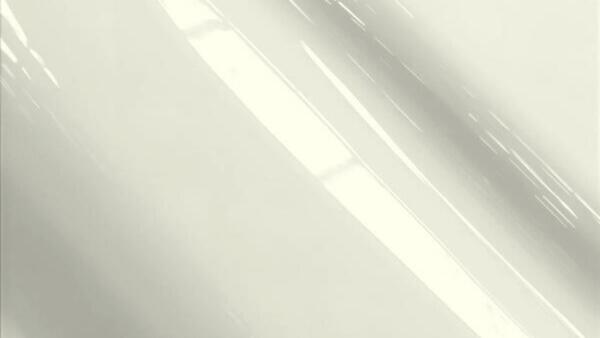
Light Sage Effect
FordCOLOR CODENH -
Light Sage Effect -

Aspen Green Effect
FordCOLOR CODEP5 -
Aspen Green Effect -
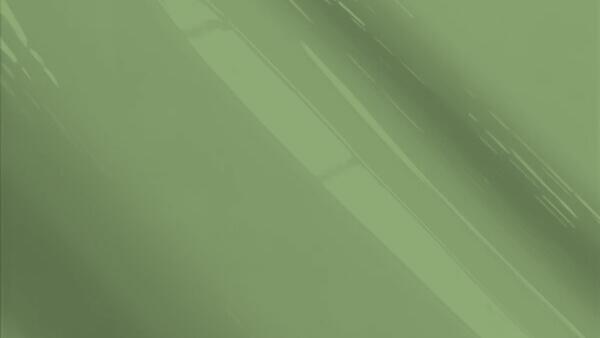
Moss Green Pearl
FordCOLOR CODEP6 -
Moss Green Pearl -

Light Grey
FordCOLOR CODETM -
Light Grey -

Medium Titanium Effect
FordCOLOR CODEYG -
Medium Titanium Effect

For small chips & scratches
Customized Color Paint Pen
Repair tiny chips and scratches with precision. Perfect for small nicks from rocks or door dings, the fine tip applicator makes it easy for beginners to achieve a clean, factory-quality finish.

For Medium-sized Chips & Scratches
Customized Color Paint Bottle
Tackle medium-sized scratches and chips with our Customized Color Paint Bottle. The built-in applicator brush provides smooth, controlled coverage, while the included basecoat delivers a perfect factory match in your custom paint color.

For larger areas & panel resprays
Customized Color Spray Can
Cover larger areas with a smooth, professional finish using ourcustomized color Spray Can. Designed for hoods, fenders, and larger scratches, this product provides consistent spray coverage and factory-matched color accuracy.

For large repairs & total resprays
Customized Color Professional Size Paint
When your repair job calls for more than a touch-up, step up to our professional-size automotive paints. Available in Pint, Quart, or Gallon sizes, these paints are ready-to-spray using an airless spray gun.

For small chips & scratches
Customized Color Tricoat Paint Pens
Repair tiny chips and scratches with precision. Perfect for small nicks from rocks or door dings, the fine tip applicator makes it easy for beginners to achieve a clean, factory-quality finish. Each order includes a basecoat and a midcoat pen.

For Medium-sized Chips & Scratches
Customized Color Tricoat Paint Bottles
Tackle medium-sized scratches and chips with our Customized Color Paint Bottles. The built-in applicator brush provides smooth, controlled coverage, while the basecoat & midcoat deliver a perfect factory match in your custom paint color.

For larger areas & panel resprays
Customized Color Tricoat Spray Cans
Cover larger areas with a smooth, professional finish using our customized color basecoat & midcoat Spray Cans. Designed for hoods, fenders, and larger scratches, this product provides consistent spray coverage and factory-matched color accuracy.
For large repairs & total resprays
Customized Color Tricoat Professional Size Paint
When your repair job calls for more than a touch-up, step up to our professional-size automotive paints. Available in Pint, Quart, or Gallon sizes, these paints are ready-to-spray using an airless spray gun. Each order includes a basecoat & a midcoat paint.
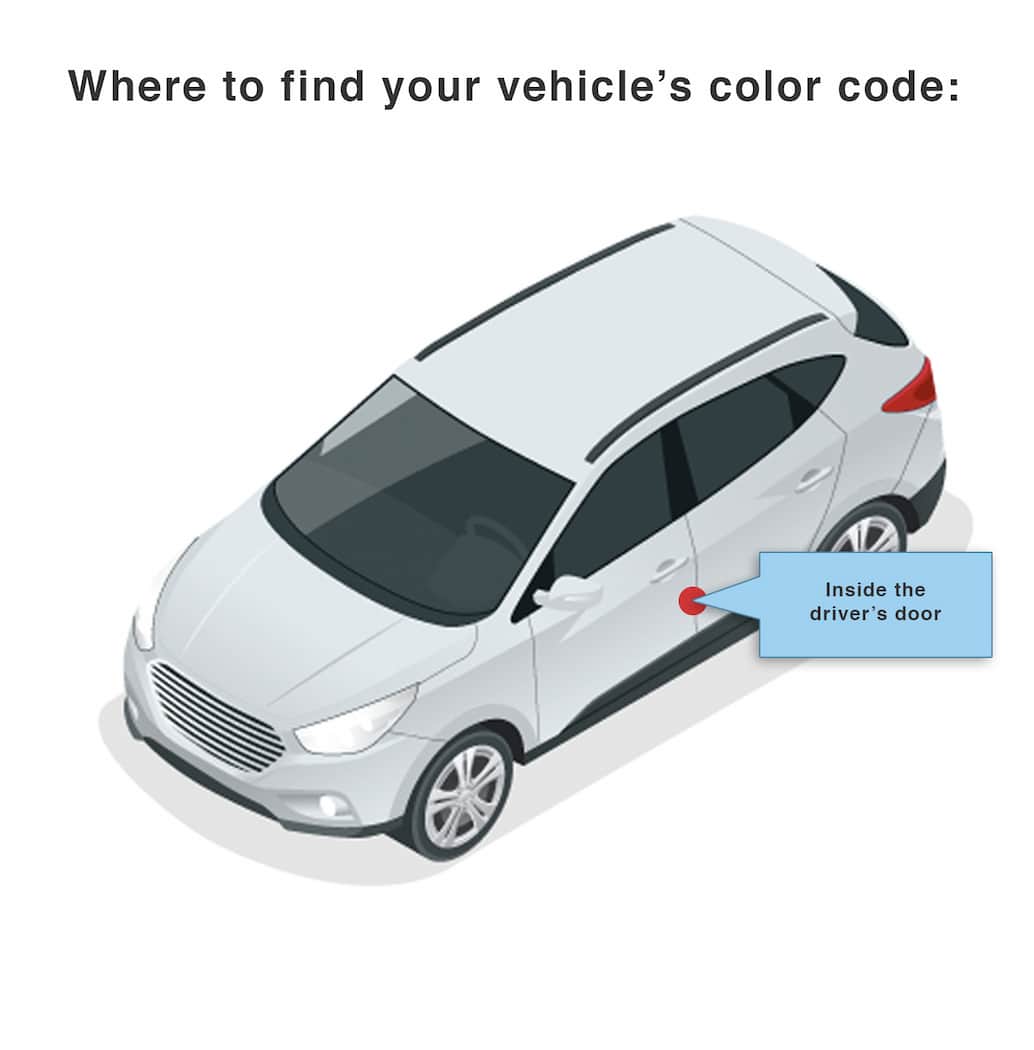
Find Your 2009 Ford Paint Code
Ford paint color codes are on the drivers door jamb, on the color plate. The typical format is PM/M6599, though usually only PM appears. Example: PM corresponds to Bright Calypso Metallic Clearcoat PM/M6599; it may appear as PM Bright Calypso Metallic Clearcoat. Plates may show Exterior Paint Colors or EX PT; sometimes the color is embossed mid-plate. WB is wheelbase; above Wheel Base is EXT PNT, and to the right of EXT PNT is the code. Many mistake LX3 as the code.
2009 Ford Background Info
Ford Models Released in 2009
- Crown Victoria (9 colors)
- Econoline (11 colors)
- Edge (13 colors)
- Escape (15 colors)
- Expedition (11 colors)
- Explorer (12 colors)
- F-Series (30 colors)
- Flex (10 colors)
- Focus (9 colors)
- Fusion (12 colors)
- Mustang (12 colors)
- Police Car (17 colors)
- Ranger (8 colors)
- Taurus (10 colors)
- Taurus X (12 colors)