


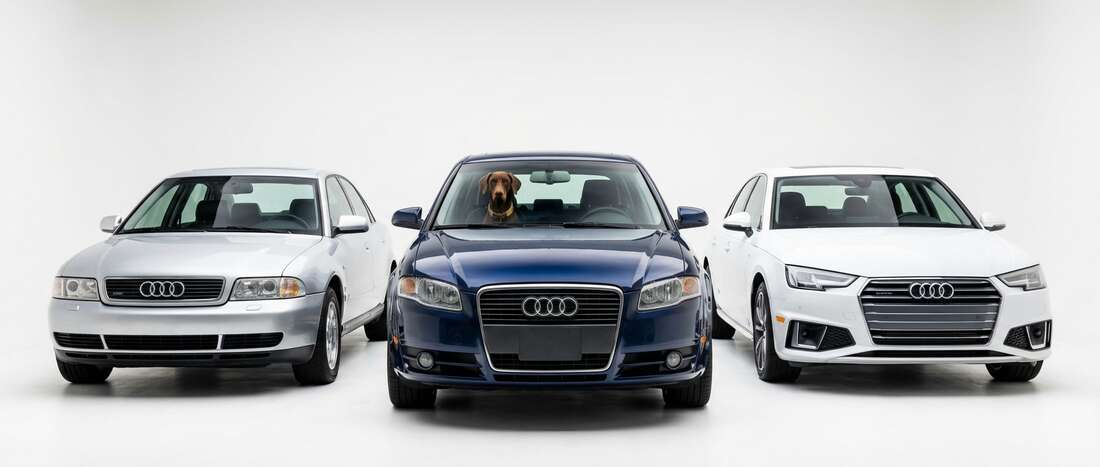
Audi A4 Touch Up Paint (148 OEM Colors)
Search for your A4's color
-

Ascariblau
AudiCOLOR CODELX5F -
Ascariblau -

Medium Blue (Water-Based Only)
AudiCOLOR CODELX5U -
Medium Blue (Water- Based Only) -

Aruba Blue
AudiCOLOR CODELX5V/
Q9 - Aruba Blue -

Sphere Blue Metallic
AudiCOLOR CODELX5X/
9F - Sphere Blue Metallic -

Jasper Green Metallic
AudiCOLOR CODELX6V/
4N - Jasper Green Metallic -

Quantum Grey
AudiCOLOR CODELX7B -
Quantum Grey -

Terra Grey Metallic
AudiCOLOR CODELX7H -
Terra Grey Metallic -

Monza Silver Metallic
AudiCOLOR CODELX7V/
U7 - Monza Silver Metallic -

Citrus Yellow
AudiCOLOR CODELY1G/
Y8 - Citrus Yellow -

Melange Beige Metallic
AudiCOLOR CODELY1T/
3X - Melange Beige Metallic -

Alpaka Beige Metallic
AudiCOLOR CODELY1W/
Y5 - Alpaka Beige Metallic -

Canvas Beige Metallic
AudiCOLOR CODELY1X/
2W - Canvas Beige Metallic -

Amulet Red
AudiCOLOR CODELY3C/
4G - Amulet Red -

Absolute Red
AudiCOLOR CODELY3F -
Absolute Red -

Red
AudiCOLOR CODELY3Q -
Red -

Matadorrot
AudiCOLOR CODELY3S -
Matadorrot
Find Your Audi A4 Paint Code
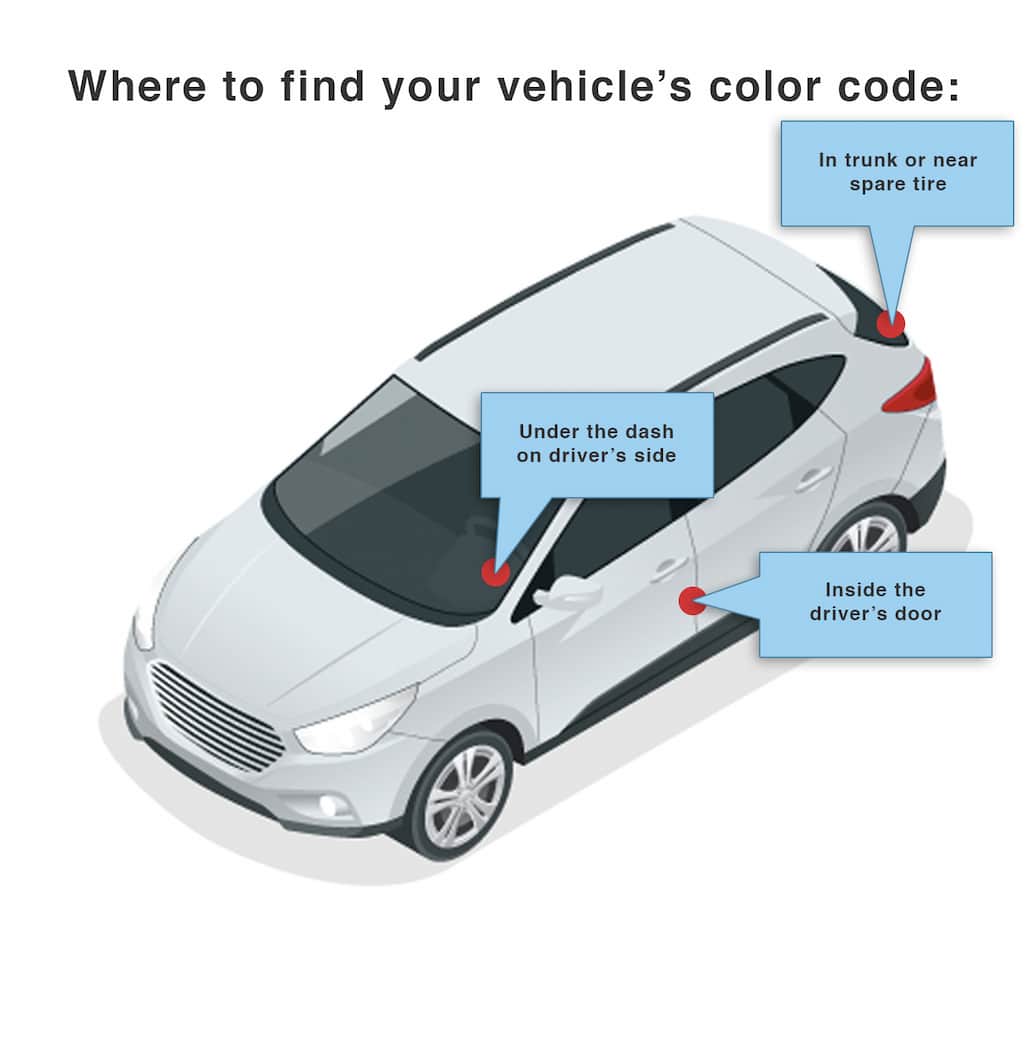
Audi paint color codes are printed on a paper color id tag, often found around the spare tire area; some Audis also have a metal plate on the driver door jamb. The paper tag can fall off and disappear over time, leaving codes unavailable. Codes can include two parts, e.g., LY9H and P1; LY9H often corresponds to Polar White Clearcoat, and P1 can be used for the same white on some models. Older Audi models can be hard to identify by code; custom matching may be required.
Audi A4 Paint Info
Audi A4 Colors by Year
Let us know the year your A4 was manufactured. We'll eliminate colors that won't match your vehicle.
- 2027 (38 colors)
- 2026 (38 colors)
- 2025 (14 colors)
- 2024 (20 colors)
- 2023 (19 colors)
- 2022 (14 colors)
- 2021 (13 colors)
- 2020 (14 colors)
- 2019 (13 colors)
- 2018 (17 colors)
- 2017 (14 colors)
- 2016 (19 colors)
- 2015 (14 colors)
- 2014 (13 colors)
- 2013 (13 colors)
- 2012 (9 colors)
- 2011 (14 colors)
- 2010 (16 colors)
- 2009 (18 colors)
- 2008 (16 colors)
- 2007 (15 colors)
- 2006 (14 colors)
- 2005 (18 colors)
- 2004 (19 colors)
- 2003 (15 colors)
- 2002 (15 colors)
- 2001 (16 colors)
- 2000 (15 colors)