


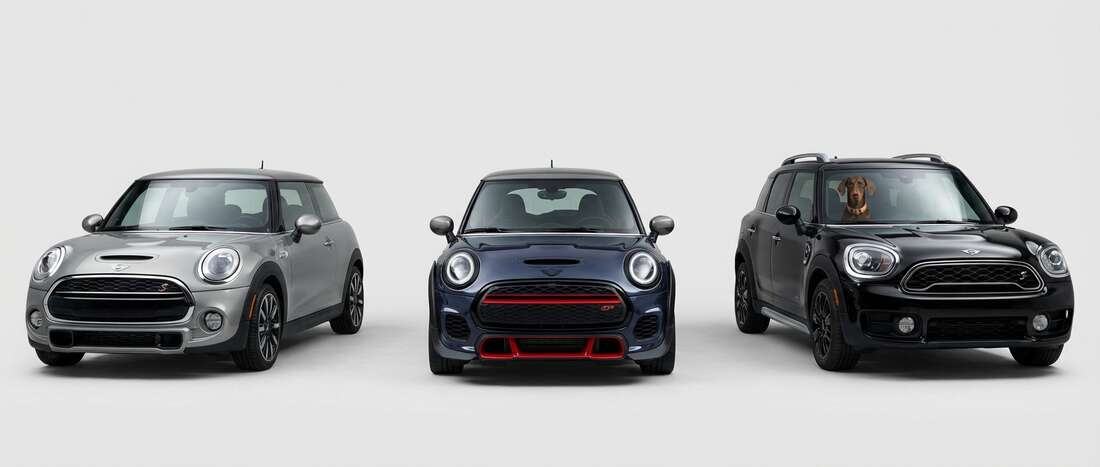
2008 Mini Touch Up Paint (18 OEM Colors)


For small chips & scratches
Customized Color Paint Pen
Repair tiny chips and scratches with precision. Perfect for small nicks from rocks or door dings, the fine tip applicator makes it easy for beginners to achieve a clean, factory-quality finish.

For Medium-sized Chips & Scratches
Customized Color Paint Bottle
Tackle medium-sized scratches and chips with our Customized Color Paint Bottle. The built-in applicator brush provides smooth, controlled coverage, while the included basecoat delivers a perfect factory match in your custom paint color.

For larger areas & panel resprays
Customized Color Spray Can
Cover larger areas with a smooth, professional finish using ourcustomized color Spray Can. Designed for hoods, fenders, and larger scratches, this product provides consistent spray coverage and factory-matched color accuracy.

For large repairs & total resprays
Customized Color Professional Size Paint
When your repair job calls for more than a touch-up, step up to our professional-size automotive paints. Available in Pint, Quart, or Gallon sizes, these paints are ready-to-spray using an airless spray gun.

For small chips & scratches
Customized Color Tricoat Paint Pens
Repair tiny chips and scratches with precision. Perfect for small nicks from rocks or door dings, the fine tip applicator makes it easy for beginners to achieve a clean, factory-quality finish. Each order includes a basecoat and a midcoat pen.

For Medium-sized Chips & Scratches
Customized Color Tricoat Paint Bottles
Tackle medium-sized scratches and chips with our Customized Color Paint Bottles. The built-in applicator brush provides smooth, controlled coverage, while the basecoat & midcoat deliver a perfect factory match in your custom paint color.

For larger areas & panel resprays
Customized Color Tricoat Spray Cans
Cover larger areas with a smooth, professional finish using our customized color basecoat & midcoat Spray Cans. Designed for hoods, fenders, and larger scratches, this product provides consistent spray coverage and factory-matched color accuracy.
For large repairs & total resprays
Customized Color Tricoat Professional Size Paint
When your repair job calls for more than a touch-up, step up to our professional-size automotive paints. Available in Pint, Quart, or Gallon sizes, these paints are ready-to-spray using an airless spray gun. Each order includes a basecoat & a midcoat paint.
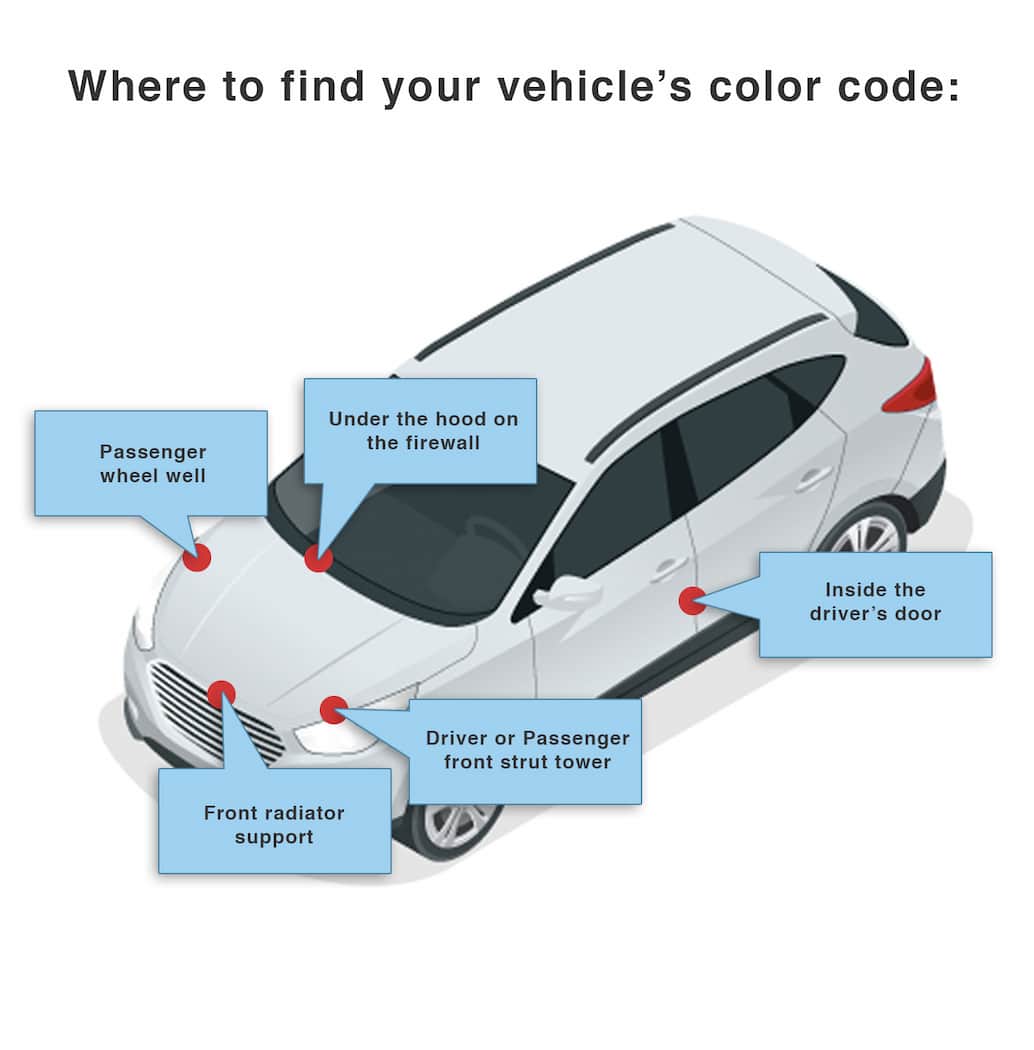
Find Your 2008 Mini Paint Code
Mini color codes follow BMW paint code conventions and are hidden somewhere on the car, often on several panels. Common locations include the firewall and radiator support; they can also be on the door jamb or inside the trunk. Finding the code often requires patience, and if not found, multiple locations may need checking. The color code is necessary to order matching paint, and the numeric code, rather than only the color name, is recorded.
2008 Mini Background Info
Mini Models Released in 2008
- Convertible (18 colors)
- Hatchback (17 colors)