


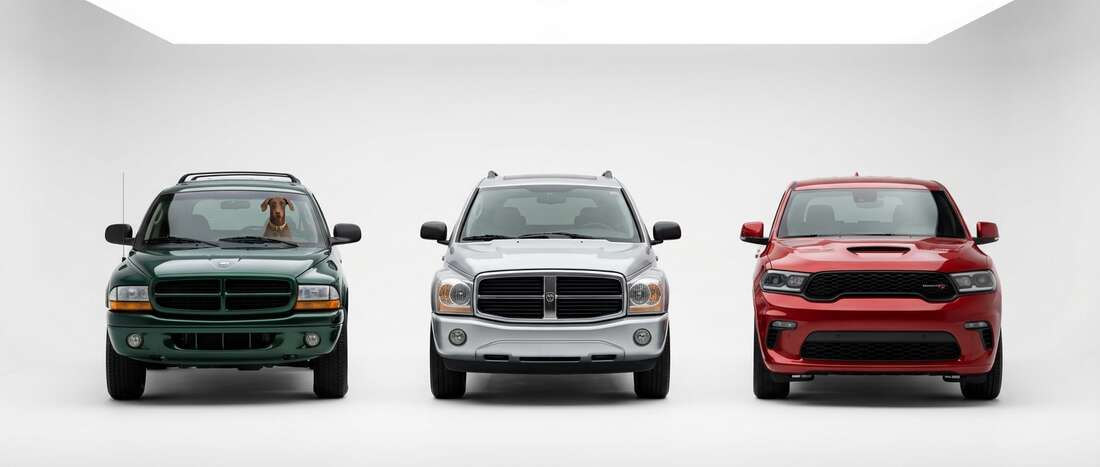
Dodge Durango Touch Up Paint (145 OEM Colors)
Search for your Durango's color

Find Your Dodge Durango Paint Code
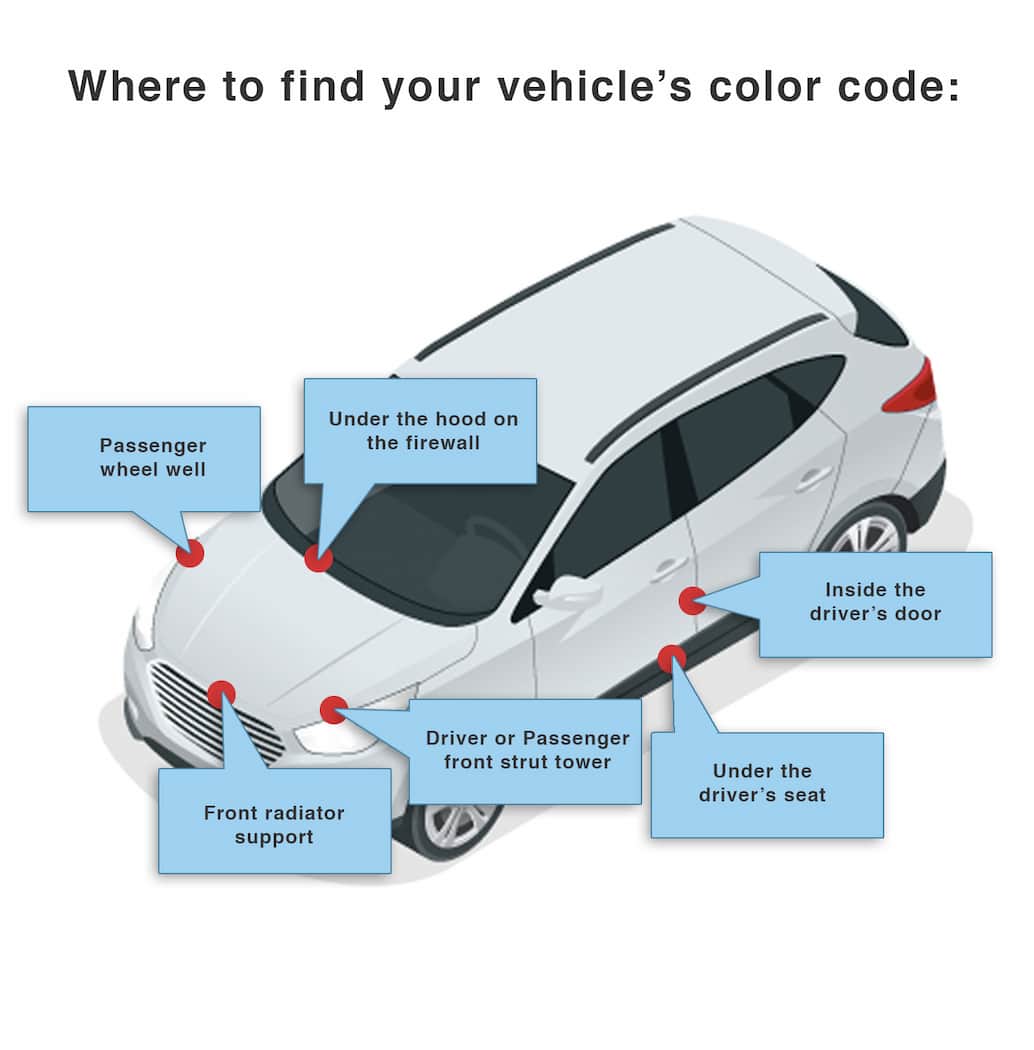
Older Dodge paint codes were placed on top of the radiator support, often obscured by engine grease and oil. Later models list them on the drivers door jamb. The typical format is BS/GBS, but only BS is the color code; it can also appear as QBS, PBS, TBS with the first letter as a confusing Year Code. The G in GBS is not part of the color code. BS corresponds to Deep Water Blue Pearl Clearcoat; lately codes are simply listed as BS.
Dodge Durango Paint Info
Dodge Durango Colors by Year
Let us know the year your Durango was manufactured. We'll eliminate colors that won't match your vehicle.
- 2027 (24 colors)
- 2026 (24 colors)
- 2025 (14 colors)
- 2024 (14 colors)
- 2023 (13 colors)
- 2022 (16 colors)
- 2021 (17 colors)
- 2020 (17 colors)
- 2019 (17 colors)
- 2018 (22 colors)
- 2017 (15 colors)
- 2016 (18 colors)
- 2015 (13 colors)
- 2014 (12 colors)
- 2013 (11 colors)
- 2012 (15 colors)
- 2011 (12 colors)
- 2009 (12 colors)
- 2008 (10 colors)
- 2007 (23 colors)
- 2006 (12 colors)
- 2005 (13 colors)
- 2004 (13 colors)
- 2003 (16 colors)
- 2002 (12 colors)
- 2001 (15 colors)
- 2000 (10 colors)
- 1999 (16 colors)
- 1998 (10 colors)